Building a Secure Proximity-Based Login System with Bluetooth Low Energy (BLE)
January 24, 2025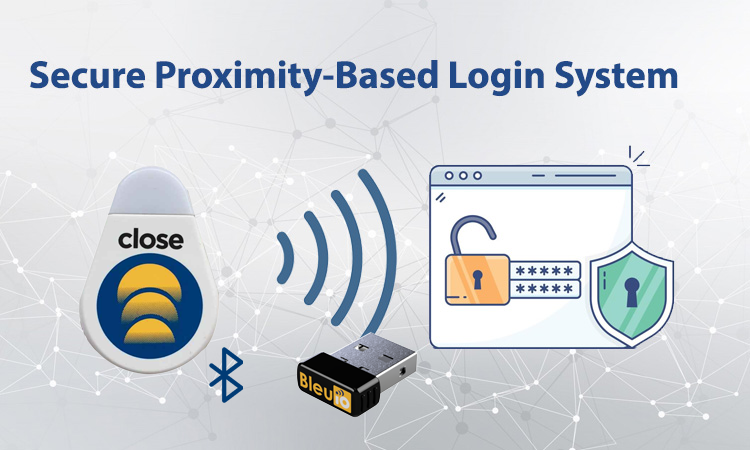
Bluetooth Low Energy (BLE) provides a powerful mechanism to enhance security through proximity-based authentication. This tutorial showcases how to create a secure login system using Node.js, Express, and BLE technology. The project demonstrates how BLE scanning can verify the presence of an authorized BLE device (such as Close Beacon) in range before granting access. This offers an extra layer of protection for your applications.
Why This Project?
With the increasing need for secure authentication mechanisms, BLE (Bluetooth Low Energy) offers a lightweight, reliable, and energy-efficient solution. This project demonstrates how you can utilize a BleuIO USB dongle to securely check the proximity of a specific Close Beacon’s mac address before granting access to sensitive resources.
Key Features:
- Node.js Integration: Simplifies server-side logic using JavaScript.
- BLE Device Scanning: Checks for the presence of an authorized device based on its MAC address.
- Flexible Hardware Support: While this project uses Close Beacon, any BLE device can be used for authentication.
- Enhanced Security: Adds an additional layer of security to the login process.
- Practical Example: Serves as a foundation for more advanced BLE-based applications.
Practical Use Cases
- Extra Security Layer: Combine BLE proximity detection with traditional authentication methods for added security.
- Access Control Systems: Enable access to sensitive areas only when an authorized device is nearby.
- BLE-Powered IoT Applications: Use BleuIO for real-time device monitoring and communication.
Project Overview
This project uses:
- Node.js for server-side scripting.
- Express for handling routes and server logic.
- BleuIO USB Dongle for BLE scanning.
- A BLE Device (e.g., Close Beacon): Ensure the device is powered on and within range.
- Bootstrap for a simple and clean UI.
When the user clicks the “Login Securely” button, the application:
- Connects to the BleuIO dongle via a serial port (tested on macOS; Windows code is commented in the source).
- Puts the dongle into central mode with the
AT+CENTRALcommand. - Sets an RSSI filter (
AT+FRSSI=-56) to filter out weak signals. - Initiates a BLE scan for nearby devices (
AT+GAPSCAN=3). - Checks if a target device with a specific MAC address is present in the scan results.
- Logs the user into the dashboard if the device is nearby; otherwise, it denies access.
Setting Up the Project
Prerequisites
- BleuIO Dongle: Ensure the BleuIO dongle is plugged into your computer.
- Node.js: Install Node.js from nodejs.org.
- Dependencies: Install
expressandserialportusing npm:npm install express serialport
How It Works
Step 1: Frontend (HTML and JavaScript)
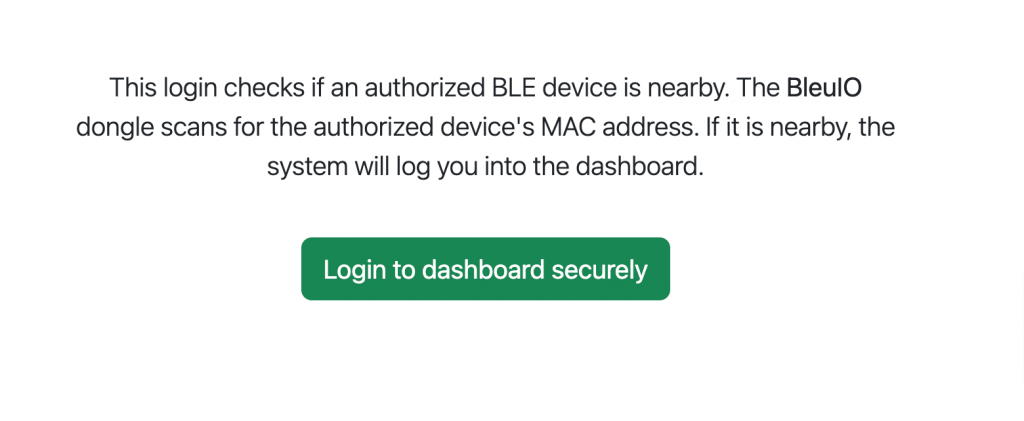
The index page displays a button, “Login to dashboard securely.” When clicked, it sends a request to the server to scan for BLE devices.
index.html:
<!-- index.html -->
<!DOCTYPE html>
<html lang="en">
<head>
<meta charset="UTF-8" />
<meta name="viewport" content="width=device-width, initial-scale=1.0" />
<link
href="https://cdn.jsdelivr.net/npm/bootstrap@5.3.3/dist/css/bootstrap.min.css"
rel="stylesheet"
integrity="sha384-QWTKZyjpPEjISv5WaRU9OFeRpok6YctnYmDr5pNlyT2bRjXh0JMhjY6hW+ALEwIH"
crossorigin="anonymous"
/>
<title>Login Securely</title>
</head>
<body>
<div class="container text-center mt-5">
<br />
<div class="row">
<div class="col-md-6 offset-md-3">
<p class="lead">
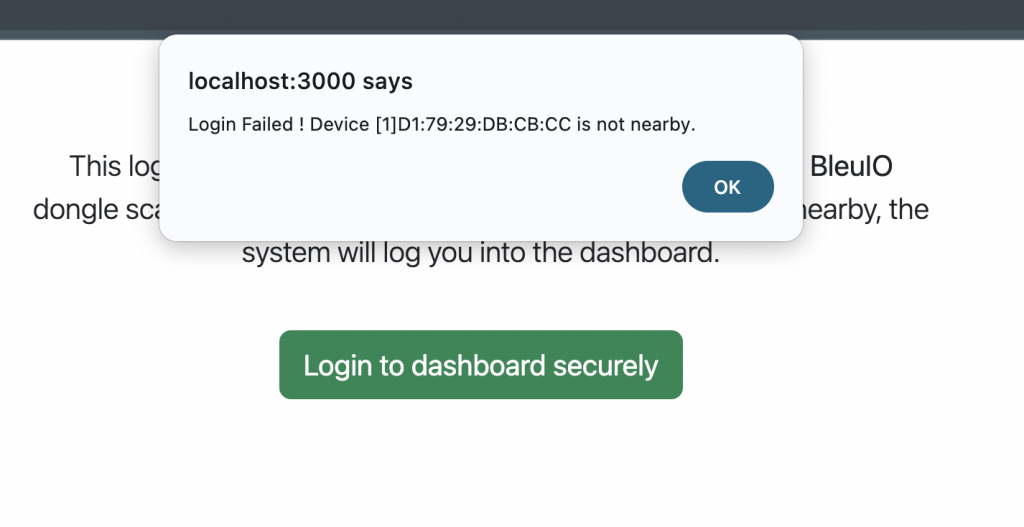
This login checks if an authorized BLE device is nearby. The
<strong>BleuIO</strong>
dongle scans for the authorized device's MAC address. If it is
nearby, the system will log you into the dashboard.
</p>
</div>
</div>
<br />
<button class="btn btn-success btn-lg" id="scanBtn">
Login to dashboard securely
</button>
<div id="listScan"></div>
</div>
<script>
document.getElementById('scanBtn').addEventListener('click', () => {
fetch('/scanbledevice')
.then((response) => response.json())
.then((data) => {
// Log the response for debugging
console.log(data.message);
// Redirect to /dashboard if the device is nearby
if (data.success) {
window.location.href = '/dashboard';
} else {
alert(data.message); // Show a message if the device is not nearby
}
})
.catch((err) => {
console.error('Error:', err);
alert('An error occurred while scanning for devices.');
});
});
</script>
</body>
</html>
dashboard.html
<!DOCTYPE html>
<html lang="en">
<head>
<meta charset="UTF-8" />
<meta name="viewport" content="width=device-width, initial-scale=1.0" />
<link
href="https://cdn.jsdelivr.net/npm/bootstrap@5.3.3/dist/css/bootstrap.min.css"
rel="stylesheet"
integrity="sha384-QWTKZyjpPEjISv5WaRU9OFeRpok6YctnYmDr5pNlyT2bRjXh0JMhjY6hW+ALEwIH"
crossorigin="anonymous"
/>
<title>Dashboard</title>
</head>
<body>
<div class="container">
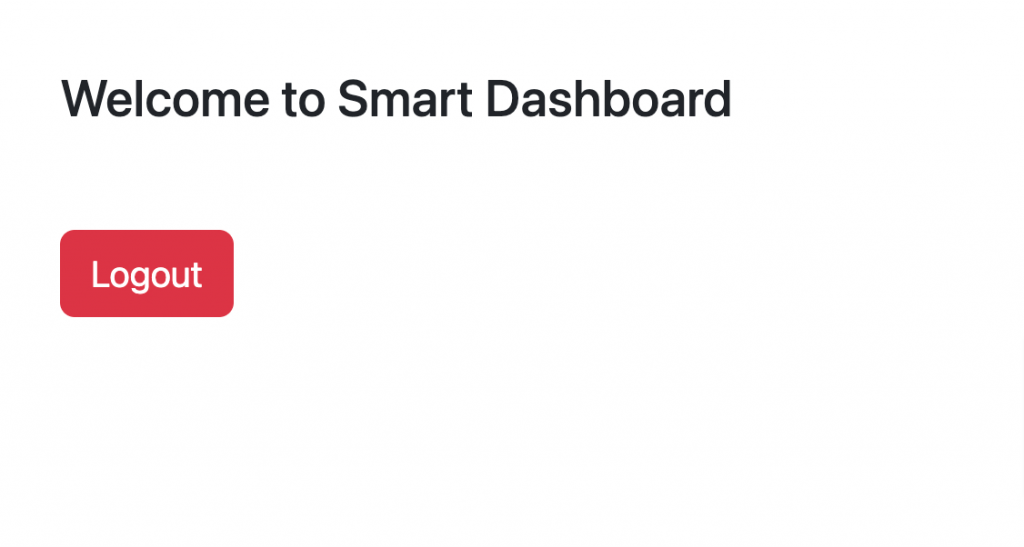
<h3 class="mt-5">Welcome to Smart Dashboard</h3>
<br /><br />
<a href="/" class="btn btn-danger btn-lg" id="logoutBtn">Logout</a>
</div>
<script>
document
.getElementById('logoutBtn')
.addEventListener('click', (event) => {
event.preventDefault(); // Prevent default navigation
fetch('/disconnect')
.then((response) => response.json())
.then((data) => {
if (data.success) {
console.log(data.message);
window.location.href = '/'; // Redirect to the index page
} else {
alert('Failed to disconnect: ' + data.message);
}
})
.catch((err) => {
console.error('Error during disconnect:', err);
alert('An error occurred during logout.');
});
});
</script>
</body>
</html>
Step 2: Backend Logic
The server handles requests to scan for BLE devices, manage the serial port connection, and redirect users to the dashboard.
server.js:
// server.js
const express = require('express');
const { scanBLE, disconnectBLE } = require('./script');

const app = express();
const port = 3000;

// Serve the HTML file
app.get('/', (req, res) => {
  res.sendFile(__dirname + '/index.html');
});
app.get('/dashboard', (req, res) => {
  res.sendFile(__dirname + '/dashboard.html');
});
app.get('/disconnect', (req, res) => {
  disconnectBLE()
    .then((message) => {
      res.json({ success: true, message });
    })
    .catch((err) => {
      console.error('Error during disconnect:', err);
      res
        .status(500)
        .json({ success: false, message: 'Failed to disconnect serial port' });
    });
});

// Endpoint to fetch the list of serial ports
app.get('/scanbledevice', (req, res) => {
  scanBLE()
    .then((bleDevice) => {
      const targetMacAddress = '[1]D1:79:29:DB:CB:CC';

      // Check if the target device is nearby
      const isNearby = bleDevice.some((line) =>
        line.includes(targetMacAddress)
      );

      // Respond with a message
      if (isNearby) {
        res.json({
          success: true,
          message: `Device ${targetMacAddress} is nearby.`,
        });
      } else {
        res.json({
          success: false,
          message: `Login Failed ! Device ${targetMacAddress} is not nearby.`,
        });
      }
    })
    .catch((err) => {
      console.error('Error during BLE scan:', err);
      res
        .status(500)
        .json({ success: false, message: 'Error fetching BLE devices.' });
    });
});

// Start the server
app.listen(port, () => {
  console.log(`Server is running on http://localhost:${port}`);
});
Step 3: BLE Scanning Logic
The script connects to the BleuIO dongle, configures it, and scans for nearby devices.
script.js:
// script.js
const { SerialPort } = require('serialport');
var firstPort = '';
var readDataArray = [];
var openPort;
// Function to fetch the ble device list
function scanBLE() {
  return new Promise((resolve, reject) => {
    SerialPort.list()
      .then((ports) => {
        //filter ports to get BleuIO path
        // windows
        /* result = ports.filter(
            (portVal) =>
              portVal.pnpId && portVal.pnpId.includes("VID_2DCF&PID_6002")
          ); */
        //Mac
        result = ports.filter(
          (portVal) =>
            portVal.manufacturer &&
            portVal.manufacturer.includes('Smart Sensor Devices')
        );
        // get the first port path of the BleuIO connected to computer
        firstPort = result[0] && result[0].path;
        openPort = new SerialPort({ path: firstPort, baudRate: 115200 });
        // function to read serial port data
        const readData = (dm) => {
          return new Promise((resolve, reject) => {
            openPort.on('readable', () => {
              let data = openPort.read();
              let enc = new TextDecoder();
              let arr = new Uint8Array(data);
              let rawString = enc.decode(arr);

              // Split response into lines and trim extra spaces or empty lines
              let lines = rawString
                .split(/[\r\n]+/)
                .filter((line) => line.trim() !== '');
              readDataArray.push(...lines);

              // Log each line for better readability
              lines.forEach((line) => console.log(line));

              if (rawString.includes(dm)) {
                return resolve(readDataArray);
              } else {
                return resolve(readDataArray);
              }
            });
          });
        };

        // put the dongle to central role
        openPort.write('AT+CENTRAL\r', (err) => {
          if (err) {
            return reject(
              new Error('Error setting dongle to central role ' + err.message)
            );
          } else {
            // Set the RSSI filter
            openPort.write('AT+FRSSI=-56\r', (err) => {
              if (err) {
                return reject(
                  new Error('Error setting RSSI filter ' + err.message)
                );
              } else {
                // Scan for BLE devices for three seconds
                openPort.write('AT+GAPSCAN=3\r', (err) => {
                  if (err) {
                    return reject(
                      new Error('Error initiating BLE scan ' + err.message)
                    );
                  } else {
                    setTimeout(() => {
                      resolve(readData('SCAN COMPLETE'));
                    }, 3500);
                  }
                });
              }
            });
          }
        });
      })
      .catch((err) => {
        console.error('Error listing serial ports:', err);
        reject(err);
      });
  });
}
function disconnectBLE() {
  return new Promise((resolve, reject) => {
    if (openPort && openPort.isOpen) {
      openPort.close((err) => {
        if (err) {
          console.error('Error closing serial port:', err);
          return reject(err);
        }
        console.log('Serial port disconnected.');
        resolve('Disconnected');
      });
    } else {
      console.log('No serial port to disconnect.');
      resolve('No port to disconnect');
    }
  });
}

module.exports = { scanBLE, disconnectBLE };
Full source code is available at github. Source code
Output
This project is an example of how to integrate BleuIO with Node.js to build a BLE-powered secure login system. The source code is available and can be adapted for your use case. Start experimenting with BleuIO today and unlock the potential of BLE in your applications!