Bluetooth based PIR motion detecting application using STM32 board
August 23, 2022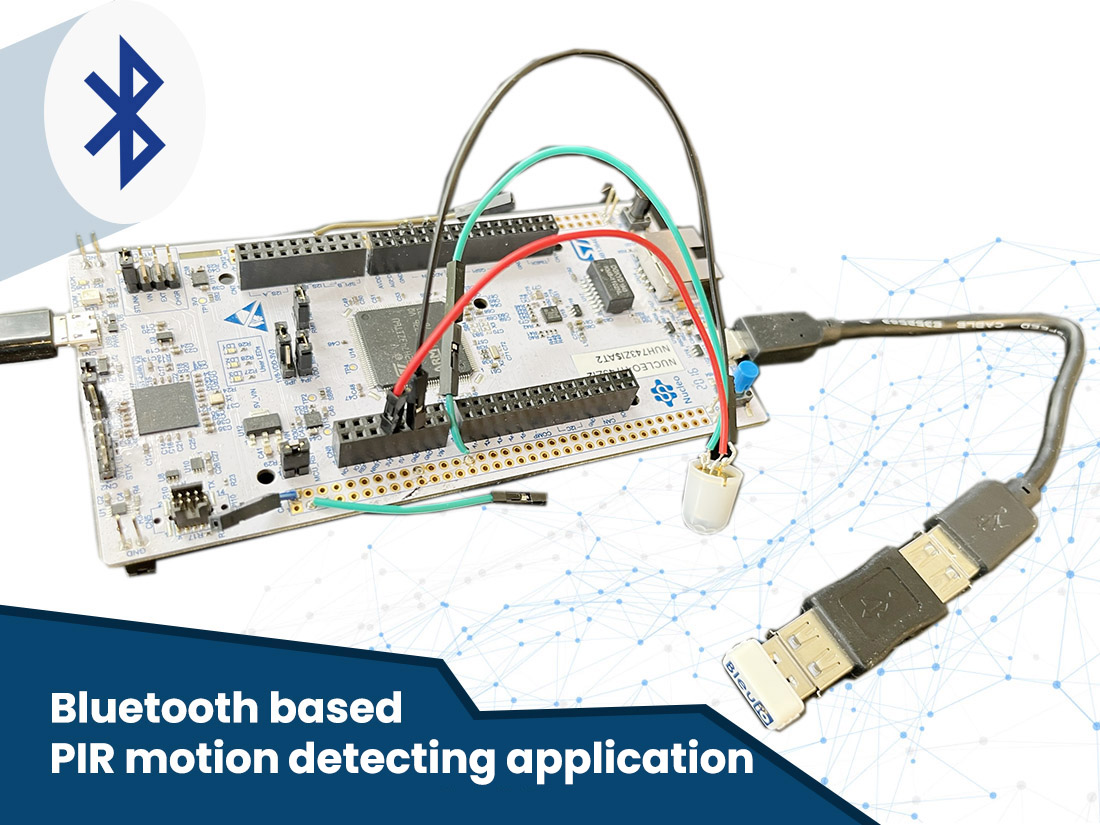
1. Introduction
In this project we will use a PIR sensor to detect motion. Once motion is detected, it will trigger an interrupt and the BleuIO dongle connected to the board will advertise for 25 seconds. You can expand the project based on your needs further.
A PIR (passive infrared) Sensor is an electronic device that detects heats from human or animal body, giving a detection signal when movement happens in a given area or range of the sensor.
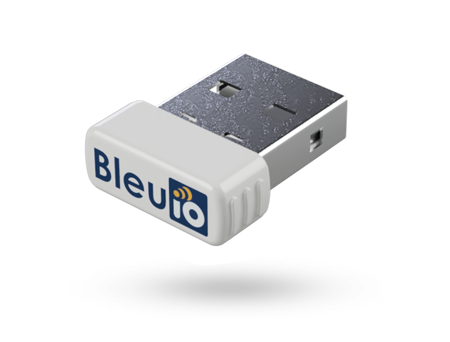
For this project, we will need one dongle and a PIR sensor (for example: https://www.digikey.com/short/4v12z2nw).
When the BleuIO Dongle is connected to the Nucleo boards USB port the STM32 will recognize it and set up a new device name for the dongle: BleuIO PIR Detected. This will show up when the dongle is advertising.
2. Using the example project
2.1 What we will need
- A BleuIO dongle (https://www.bleuio.com/)
- A PIR sensor (for example: https://www.digikey.com/short/4v12z2nw)
- A board with a STM32 Microcontroller with a USB port. (A Nucleo-144 development board: NUCLEO-H743ZI2, was used developing this example. (https://www.st.com/en/evaluation-tools/nucleo-h743zi.html)
- To connect the dongle to the Nucleo board we used a “USB A to Micro USB B”-cable with a USB A female-to-female adapter.)
- STM32CubeIDE (https://www.st.com/en/development-tools/stm32cubeide.html)
2. How to setup project
2.1 Downloading the project from GitHub
Get project HERE
https://github.com/smart-sensor-devices-ab/stm32_bleuio_pir_example
Either clone the project, or download it as a zip file and unzip it, into your STM32CubeIDE workspace.
2.2 Importing as an Existing Project
- From STM32CubeIDE choose File>Import…

- Then choose General>Existing Projects into Workspace then click ‘Next >’
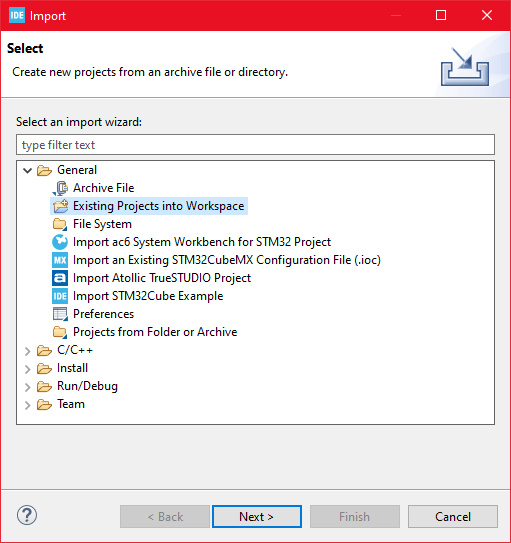
- Make sure you’ve choosen your workspace in ‘Select root directory:’
- You should see the project “stm32_bleuio_pir_example”, check it and click ‘Finish’.
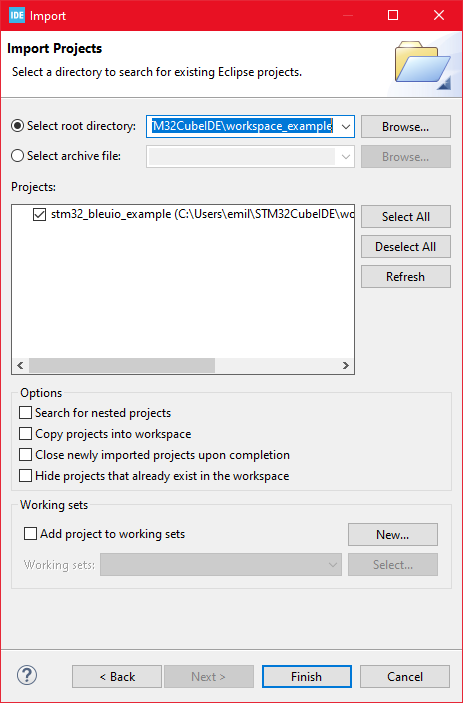
If you download the project as a zip file you will need to rename the project folder from ‘stm32_bleuio_pir_example-master’ to ‘stm32_bleuio_pir_example’
5. Connecting the sensor
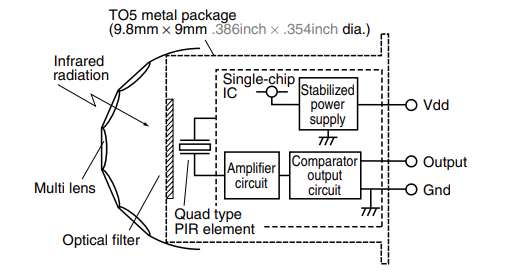
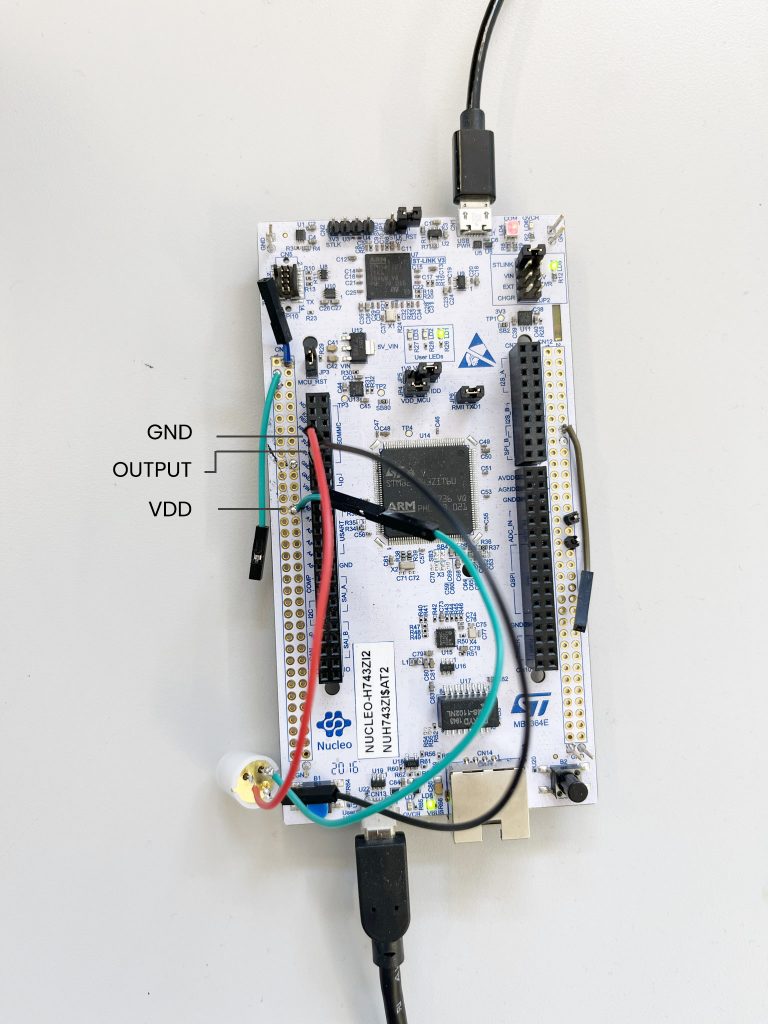
Connect the PIR Sensor Gnd to ground and Vdd to power and Output to a pin of your choice on the Nucleo board (In the example we use PA0)
If you want a different PIN you will need to go into the STM32Cube ioc file and make some edits:
- Click on PA0 and select Reset_State in the STM32Cube ioc file.
- Click on your desired Pin and select EXTIO
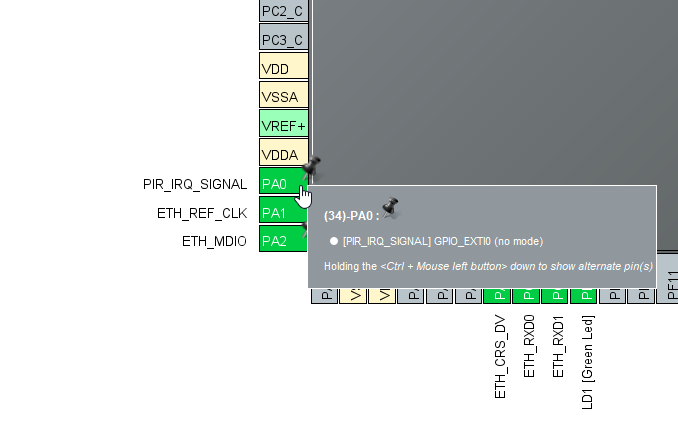
- Then go to GPIO under System Core and make sure you setup the pin as follows:
GPIO mode: External Interrupt Mode with Rising edge trigger detection
GPIO Pull-up/Pull-down: Pull-down
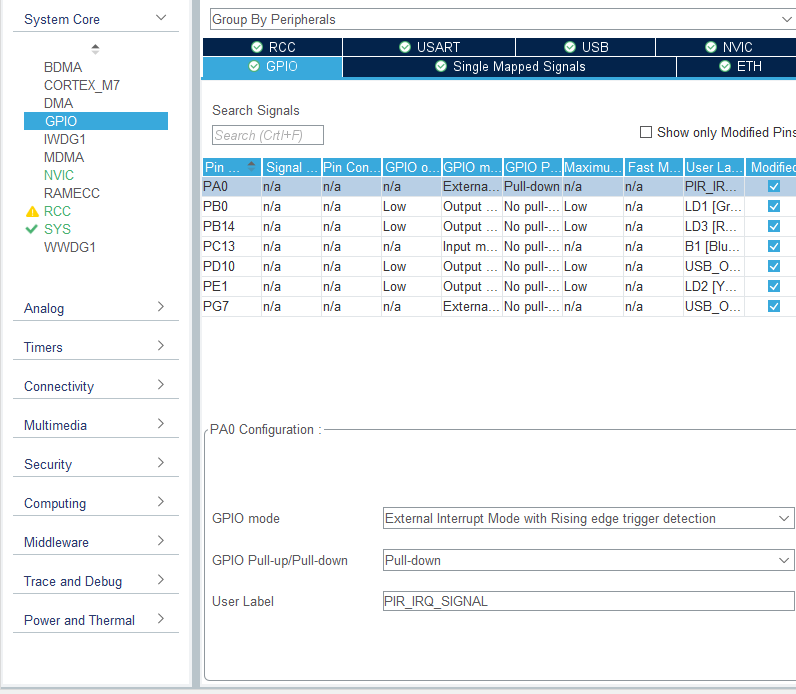
- Then go to NVIC under System Core and make sure EXTI line0 interrupt is enabled
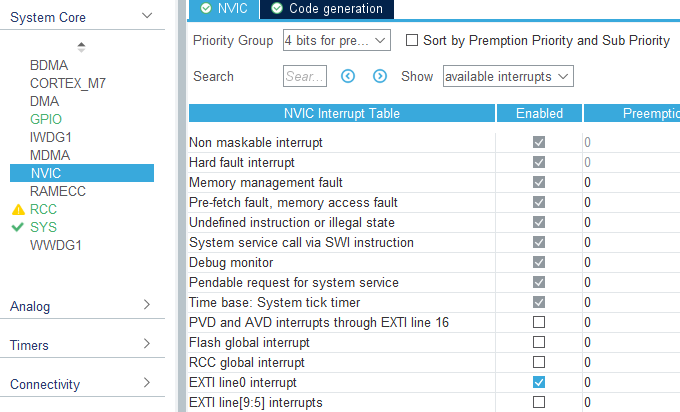
6. Running the example
- In STMCubeIDE click the hammer icon to build the project.
- Open up the ‘STMicroelectronics STLink Viritual COM Port’ with a serial terminal emulation program like TeraTerm, Putty or CoolTerm.
Baudrate: 115200
Data Bits: 8
Parity: None
Stop Bits: 1
Flow Control: None
- In STMCubeIDE click the green play button to flash and run it on your board. The first time you click it the ‘Run Configuration’ window will appear. You can just leave it as is and click run.
- Connect the BleuIO Dongle.
7. Output
When the PIR sensor detects movement it will trigger an interrupt that in turn will tell the BleuIO Dongle to advertise for 25 seconds. Just so the PIR Sensor will not trigger constantly we have put a 20 second timeout before it will trigger again. If no new interrupts have been detected after the 25 second advertising timer has run out the BleuIO Dongle will stop advertising and wait for a new interrupt to happen.
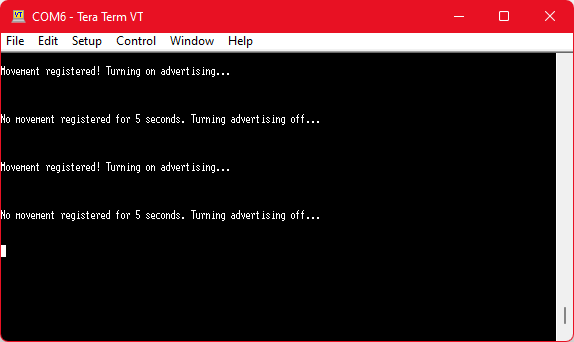
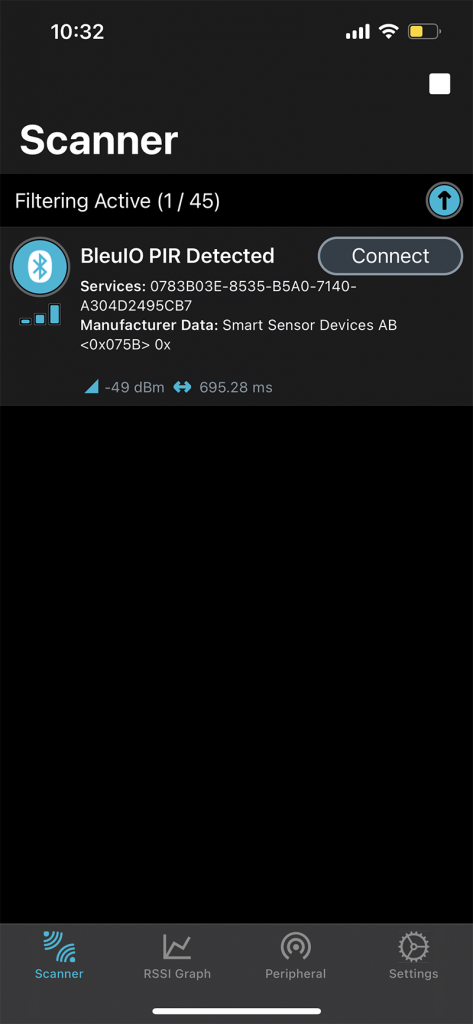
The yellow LED on the STM32 board also toggles if there is a movement.
Hope you found this article informative.
