Create a real-time desktop CO2 widget using Javascript and Bluetooth
April 21, 2023
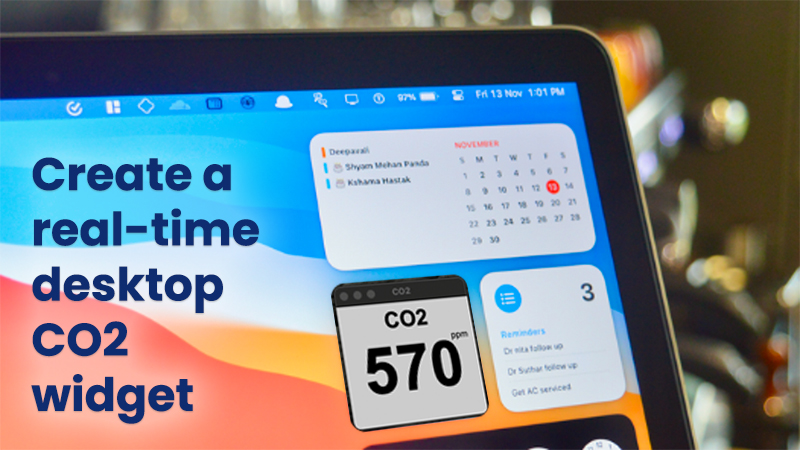
Creating a small real-time desktop CO2 widget using JavaScript and Bluetooth is a fun and engaging project that can help you understand how to work with Bluetooth communication and sensor data processing.
In this project we will use BleuIO to communicate with air quality monitoring sensor to read CO2 data. BleuIO is a bluetooth low energy usb dongle that helps to create BLE application easily. The AT command available on this device makes the development faster and easier.
There are many air quality sensor available but one popular choice is the HibouAir.
We will use electron js and node serial to connect with BleuIO. After that we will use AT commands to scan for nearby Bluetooth device that is advertising with a given board ID which is the air quality monitoring sensor.
Requirments :
Note: both BleuIO and HibouAir are available at digikey.
Here are the steps you can follow to create your own widget:
Hardware setup :
Connect BleuIO to the computer and wait for the device to recognize it. This usually takes 10 seconds. Connect the air quality monitoring sensor HibouAir to a power cable. Make sure the device is within 50 meters.
Write the code :
Clone this repository from Github using
git clone https://github.com/smart-sensor-devices-ab/bluetooth-co2-desktop-widget.gitAfter that go inside the directory and write
npm install on terminal. This will install necessary libraries.
Inside this folder we will find three .js files and one html file. The index.html file is the frontend where we will see the real-time CO2 values.
The main.js file initialize the application and creates an window of 200px X 200px
render.js is the file which has all the logic go connect to BleuIO via serial port , gets real-time air quality data, decode it and finally print it on the screen.
Code explanation :
On render.js file, at first we make a list of devices connected to serial port. Then we filter out only the BleuIO devices by filtering with vendorID which is 2dcf. After that we pick the first item of the list.
Once we know the path of the BleuIO device , we connect to it.
ports = ports.filter((x) => x.vendorId == "2dcf");
      if (ports && ports.length > 0) {
        port = new SerialPort({
          path: ports[0].path,
          baudRate: 57600,
        });
}
Now that we are connected to the BleuIO dongle, we can write AT commands to it and get the response.
At first we write AT+DUAL to the dongle to put the dongle in dual role. So that we can scan for nearby devices and advertised data.
to put the dongle in dual role we write
port.write(Buffer.from("AT+DUAL\r"), function (err) {
          if (err) {
            document.getElementById("error").textContent =
              "Error writing at dual";
          } else {
            console.log('dongle in dual role')
}
In this project I am trying to get air quality data from a HibouAir device which has a board ID of 45840D. Therefore I look for advertised data that has this specific boardID. If i write AT+FINDSCANDATA=4584OD, BleuIO will filter out only advertise data from this board ID.
After writing this , we get a response from the dongle. To read the response from serial port we use
 port.on("readable", () => {
          let data = port.read();
console.log(data)
})
We can push the response in an array and later decide what to do with it.
When we do a AT+FINDSCANDATA=45840D
the response from the dongle looks something like this

Then we take the last response by using
resp = readDataArray[readDataArray.length - 2];After that , get the advertised data from the string by
resp.split(" ").pop();Now we have the advertised data in a variable. We can easily get the CO2 value from this string by selecting the position. The documentation from HibouAirs says , the CO2 value is right at the end of the string. In that case the value is 023A which is 570 is decimal.
We can print this value in our screen.
We can create a function that do the scanning every 20 seconds to get latest values.
Here is the complete code to render.js file
// This file is required by the index.html file and will
// be executed in the renderer process for that window.
// All of the Node.js APIs are available in this process.
const { SerialPort } = require("serialport");
var port;
var readDataArray = [];
async function listSerialPorts() {
  await SerialPort.list().then((ports, err) => {
    if (err) {
      document.getElementById("error").textContent = err.message;
      return;
    } else {
      document.getElementById("error").textContent = "";
    }
    console.log("ports", ports);

    if (ports.length === 0) {
      document.getElementById("error").textContent = "No ports discovered";
    } else {
      ports = ports.filter((x) => x.vendorId == "2dcf");
      if (ports && ports.length > 0) {
        port = new SerialPort({
          path: ports[0].path,
          baudRate: 57600,
        });
        port.write(Buffer.from("AT+DUAL\r"), function (err) {
          if (err) {
            document.getElementById("error").textContent =
              "Error writing at dual";
          } else {
            const myWriteFunc = () => {
              port.write(Buffer.from("AT+FINDSCANDATA=5B0705=3\r")),
                function (err) {
                  if (err) {
                    document.getElementById("error").textContent =
                      "Error writing findscandata";
                  } else {
                    console.log("here");
                  }
                };
            };
            myWriteFunc();
            setInterval(() => {
              myWriteFunc();
            }, 20000);
          }
        });
        // Read serial port data
        port.on("readable", () => {
          let data = port.read();
          let enc = new TextDecoder();
          let arr = new Uint8Array(data);
          let removeRn = enc.decode(arr).replace(/\r?\n|\r/gm, "");
          if (removeRn != null) readDataArray.push(removeRn);
          if (removeRn == "SCAN COMPLETE") {
            console.log(readDataArray);
            let resp = readDataArray[readDataArray.length - 2];

            let advData = resp.split(" ").pop();
            let pos = advData.indexOf("5B0705");
            console.log("advData", advData);
            console.log("c", advData.substr(pos + 46, 4));
            let co2 = parseInt("0x" + advData.substr(pos + 46, 4));
            console.log(co2);
            document.getElementById("co2Val").innerHTML = co2;
          }
        });
      } else {
        document.getElementById("error").innerHTML =
          "No device found. Please connect a BleuIO ongle to your computer and try again.";
      }
    }
  });
}

function listPorts() {
  listSerialPorts();
  setTimeout(listPorts, 20000);
}

// Set a timeout that will check for new serialPorts every 2 seconds.
// This timeout reschedules itself.
//setTimeout(listPorts, 2000);

listSerialPorts();
To build this app we need a library called electron-builder. To install this library we write on terminal
npm i electron-builder
Once the library is build , we need to update our package json file and add build option or mac.
"build": {
    "appId": "com.co2.widget",
    "productName": "co2-widget",
    "mac": {
      "category": "airquality.app.widget"
    }
  }
We can update our script on package json like this
"scripts": {
    "start": "electron .",
    "pack": "electron-builder --dir",
    "dist": "electron-builder"
  },
Once we are done, build the app with
npm run build
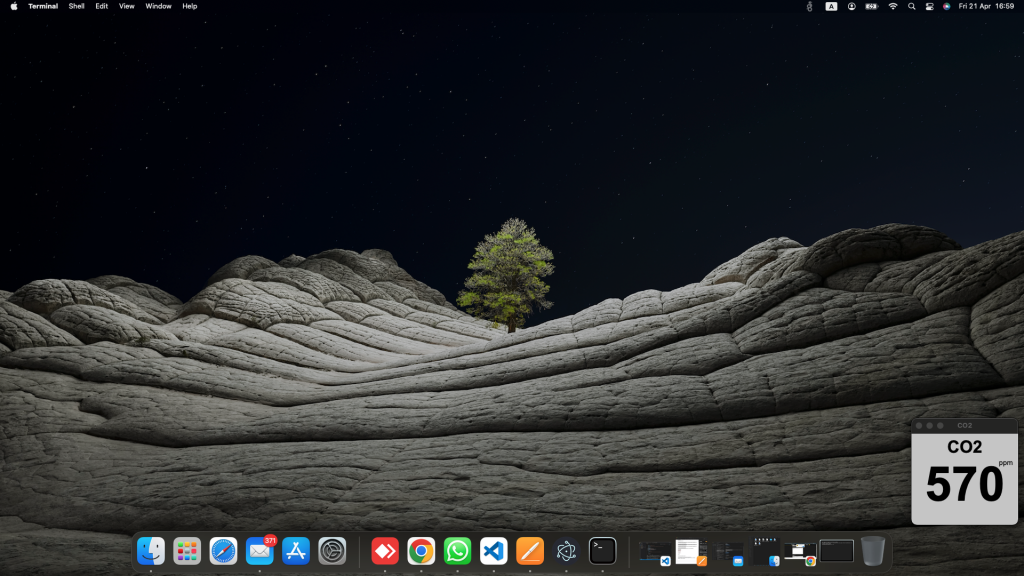
We will see a dmg file in our dist folder. Once we run the app, the widget will look like this.

The value will update every 20 seconds.
Creating a small desktop CO2 widget using JavaScript and BlueIO is a great way to learn about these technologies and create a useful tool for monitoring indoor air quality.

