Creating a Home Assistant Integration with HibouAir and BleuIO
November 17, 2023
In this tutorial, we will walk you through the process of creating a Home Assistant integration to read air quality data from a BLE air quality monitor called HibouAir. To accomplish this, we’ll be using BleuIO, a BLE USB dongle, to read data via the serial port. BleuIO comes equipped with a Python library that simplifies the project significantly. This integration provides real-time updates of various air quality parameters, such as pressure, temperature, humidity, VOC, CO2 and Particle Matters.
Prerequisites
Before we dive into the implementation, make sure you have the following prerequisites in place:
- HibouAir Air Quality Monitor: Ensure you have a HibouAir air quality monitor. You can obtain it from the official source.
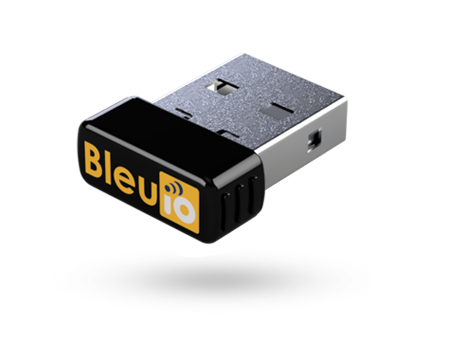
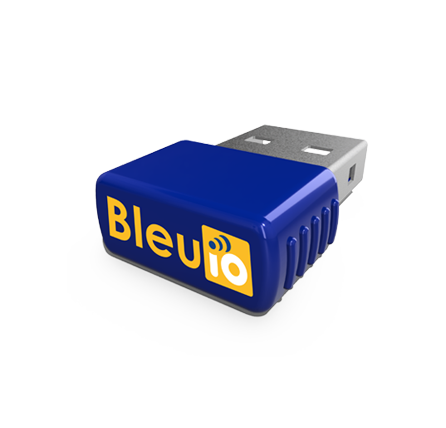
- BleuIO BLE USB Dongle: Acquire a BleuIO BLE USB dongle to facilitate communication with the HibouAir monitor.
- Host Computer: We’ll use a Windows-based host computer in this example.
- Home Assistant: Install Home Assistant and have it up and running. You can run Home Assistant within a virtual machine using VirtualBox, as demonstrated in this tutorial.
Implementation
Let’s start by setting up the Home Assistant integration for HibouAir and BleuIO. You can find the complete code for this project on the following GitHub repository:
GitHub Repository: HibouAir Home Assistant BLE Integration
Follow these steps to implement the integration:
1. Set Up the Custom Component
- Create a folder named
custom_componentswithin your Home Assistant directory. - Inside the
custom_componentsdirectory, create a subfolder namedhibouair_ble. - Copy all the files from the GitHub repository (
__init__.py,const.py,manifest.json, andsensor.py) into thehibouair_bledirectory. - Open the
const.pyfile and update the HibouAir sensor ID to match your specific device. This ID is used to identify the devices advertised data.

2. Update Configuration
Edit your Home Assistant configuration file (configuration.yaml) to include the newly added HibouAir BLE sensor:
sensor:
    - platform: hibouair_ble
      scan_interval: 120
Here’s a brief explanation of this configuration:
platform: Specifies the integration to use, which ishibouair_blein this case.scan_interval: Sets the interval for scanning and updating data. The example uses 120 seconds (2 minutes) for real-time data updates. Adjust this value according to your preference.
3. Restart Home Assistant
After updating the configuration, save the file and restart your Home Assistant instance. This will enable the integration.
4. Monitor Air Quality Data
Once Home Assistant is restarted, you should be able to see entities representing various air quality parameters with the hibouair_ble prefix. These parameters may include pressure, temperature, humidity, VOC, CO2, and more. The air quality data will update every 2 minutes, providing real-time information about your environment.
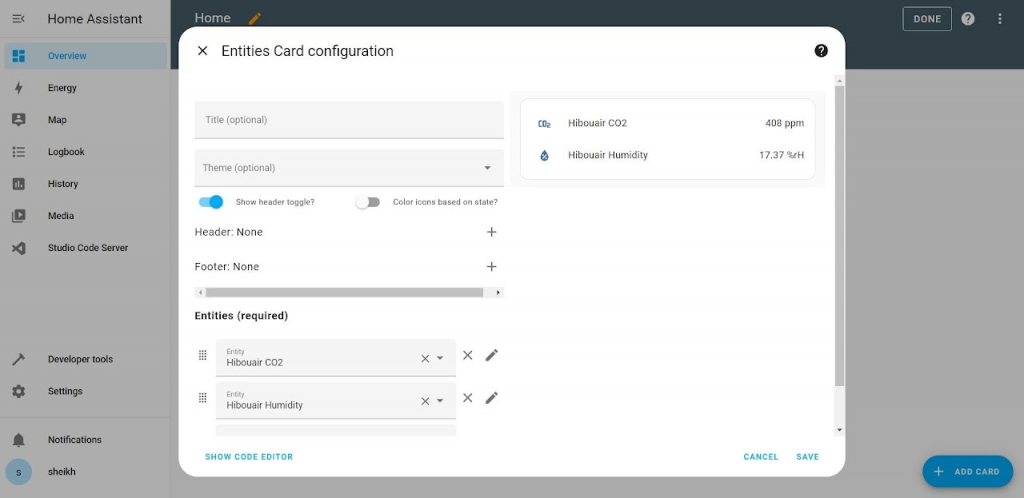
After setting up the dashboard with the Hibouair_ble entities , the dashboard looks like this
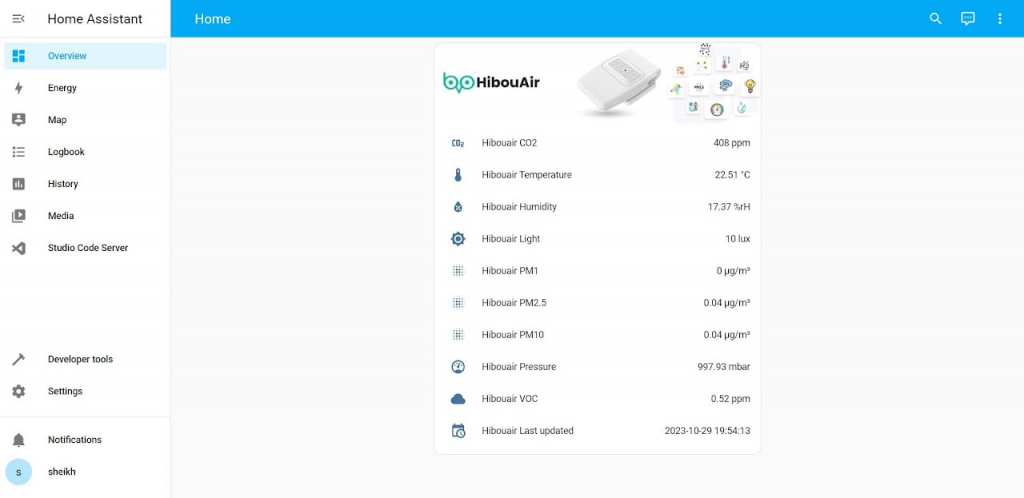
This integration is a simple example, and you can further customize and automate your smart home based on the data collected from the HibouAir monitor. Feel free to adapt the code to your specific requirements and enhance the capabilities of your Home Assistant setup.
With the combination of HibouAir and BleuIO, you can effortlessly create a home automation system that ensures your environment remains healthy and comfortable.
